I101: Introduction to Informatics
Lab 4 - More HTML and CSS
Detailed Instructions for Tasks
Introduction
Over the last two labs you have learned quite a bit about basic HTML and how to control the presentation of your HTML using Cascading Style Sheets (CSS). You have also learned a little bit about why it is important to separate content from the rules that determine how that content is displayed. This week we are going to take all of those concepts and put it to use building a larger-scale web page.
1 More HTML and CSS
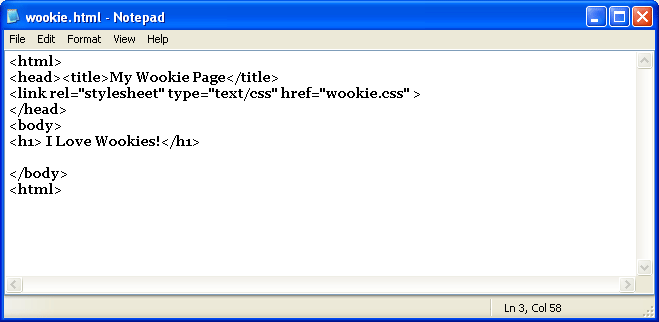
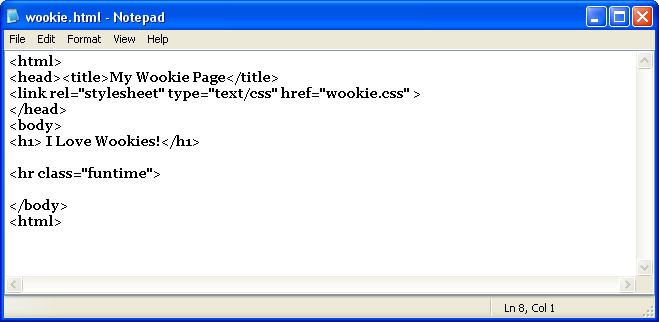
Create a new web page in notepad with the following
HTML. Save the page
as wookie.html
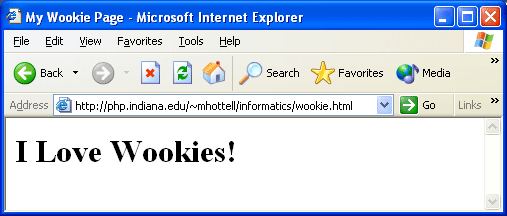
When you've finished display the page. You should have something like this:
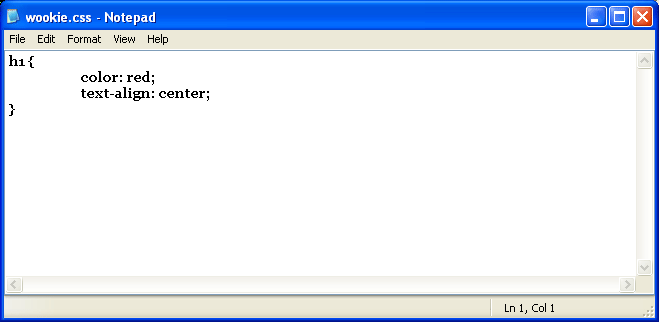
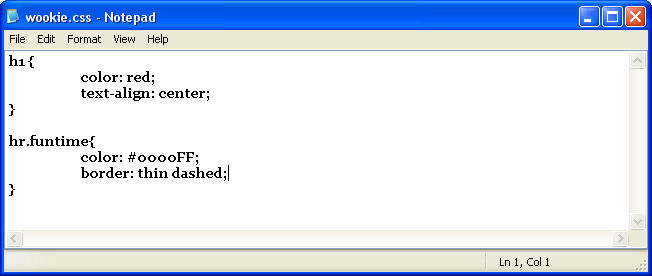
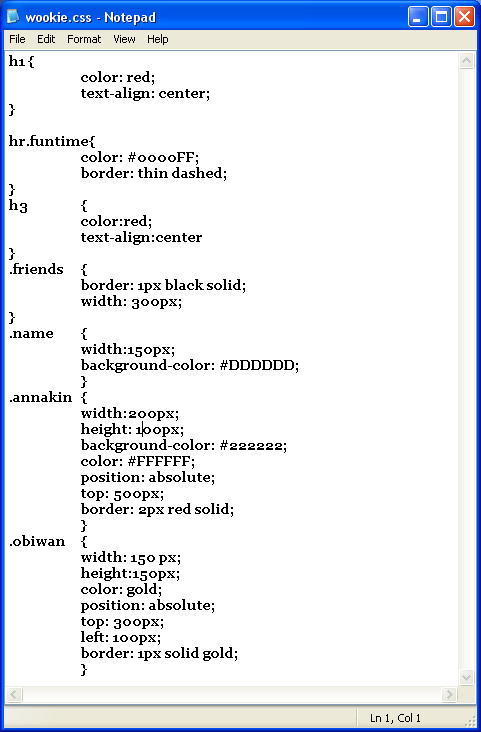
Next, create the following file named wookie.css and save it in the same directory that you saved wookie.html
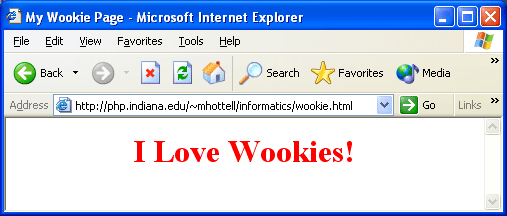
wookie.html should now display as this:
Another HTML element that can be quite useful is the horizontal rule tag, or <hr>. This tag creates a line that runs horizontally across the page and is quite helpful with separating content.
| HTML markup | Display in Browser
|
|---|---|
This is some text that should be above a line |
This is some text that should be above a line.
This should be below a line. |
CSS can help us modify the default way this line displays. We can
change properties such as the color, thickness, and style of the
line. Edit your wookie.html and wookie.css files
to look like the following:
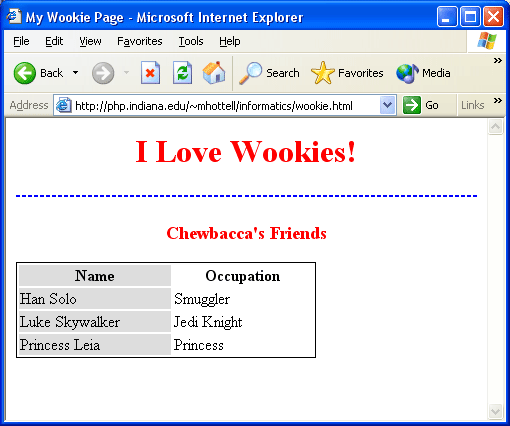
Your wookie.html page should look like this once it's displayed:
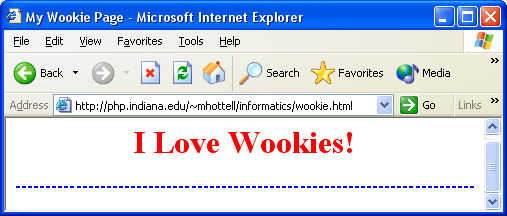
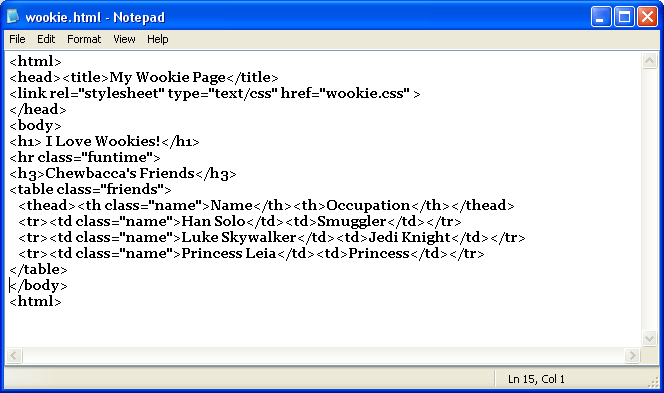
We simply used CSS to change the color, thickness, and style of the line to blue, thin, and dashed. We can use CSS to change almost any property of any element in HTML. Modify your wookie.html to look like this:
Now, edit your wookie.css file to look like this:
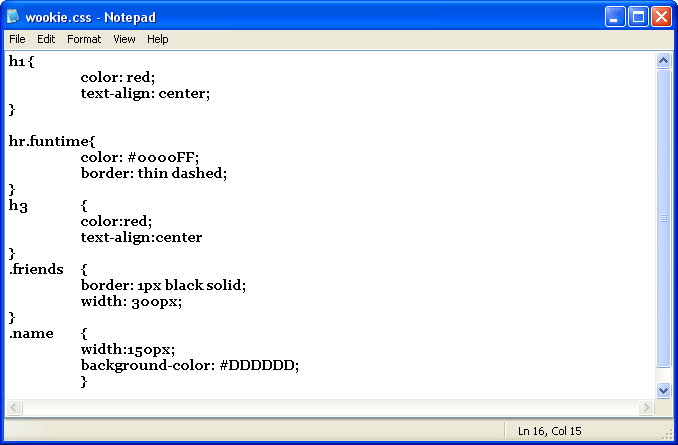
Your wookie.html page should now look like this:
2. Tables and Spans and Divs - Oh My!
Now that you have learned a bit about and used tables in HTML, lets go one step further and learn about table header tags. When displaying data in table format we often like to make the top row stand out a bit, especially if it is a column heading. In HTML we can easily do this using the <thead> and <th> tags. The <thead> tag creates a heading row, while the <th> tags define the table heading data.
| HTML markup | Display in Browser
|
||||
|---|---|---|---|---|---|
| <table border="5"> <thead> <th>Name</th> <th>Phone</th> </thead> <tr> <td>Jenny Tutone </td> <td>867-5309</td> </tr> </table> |
|
Span and Div
<span> and <div> are both tags that let you select a group of elements and apply styles to them. We introduced you to the span element last lab when we learned CSS, but now we are going to take a closer look at it.
Span is an inline tag, which means that no breaks are added either before or after the tags. This allows styles to be applied to content without breaking up the flow of the HTML. Spans are really good for changing a few words or a sentence to make them look different from the rest of the paragraph. For example:
| HTML markup | Display in Browser
|
|---|---|
<style> <p>This is some normal paragaph text. <span class='diff'>However, this will show differently because I put it in a span and assigned it a class!</span> This text should return to normal without a break. |
This is some normal paragaph text. However, this will show differently because i put it in a span and assigned it a class! This text should return to normal without a break. |
On the other hand, div is a block element, which means that any time we place content in a div element breaks are inserted:
| HTML markup | Display in Browser
|
|---|---|
<style> <p>This is some normal paragaph text. <div class='diff'>However, this will show differently because I put it in a div. A break will be added before and after the div. </div> This text should return to normal after a break. |
This is some normal paragaph text. However, this will show differently because
i put it in a div. A break will be added before and after the
div.
This text should return to normal after a break.
|
Div tags have some other really nice properties. They can have borders, background colors or images, a height and width, and other properties. Remember, a rule in CSS is made up from a selector--generally some tag--and one or more declarations--a modification of a tag's value.
We can use CSS to modify any of the properties above. In the example below we use 4 declarations to make the border of the div thin, solid, and green, turn the background color of the div a light blue color called aliceblue, and make the div itself be 150 pixels tall and 200 pixels wide:
| HTML markup | Display in Browser
|
|---|---|
<style> <div class='fun'> |
This content should be in a green bordered
150px by 200px div tag with an aliceblue background
|
We can use div tags to group content and position those groups anywhere on the page by utilizing the CSS position property. Using div tags properly, a good web designer can control precisely how each aspect of a web page is displayed. Also, because div tags can be moved around, the look of a page can be completely changed around simply by editing the CSS file.
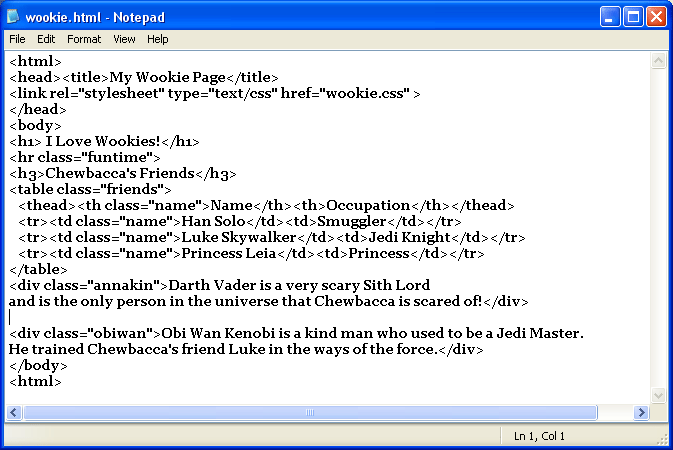
Edit your wookie.html to look like this, this is the version you will turn in:
Edit your wookie.css file to look like this, this is the version you will turn in:
And your final wookie.html page should look something like this, this is the version you will turn in:
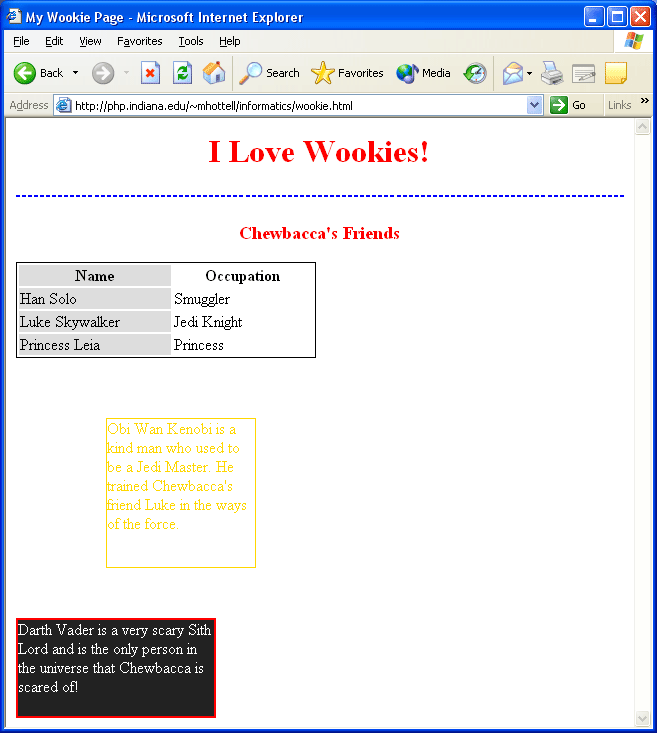
Notice several things here. We can use the CSS div property position and give it a value of absolute. We can then specify a top property with a numeric value and our div will be positioned exactly at that number or pixels away from the top edge. We can also give a numeric value to the left property and our content will be placed that many pixels away from the left edge.If we wanted to, we could substitute the properties right and bottom as well- they work the exact same way. Notice that even though the HTML for the passage about Darth Vader is above the HTML for the passage about Obi Wan, we overrode that placement using the CSS. If we wanted to change the order of the content, we can change the CSS values for top and left (or right and bottom)in their style rule classes and the content will move for us.
3. Content layout: Tables vs. Divs
Strictly speaking, tables in HTML were originally intended only as a means of displaying data in table form. However, many web designers have taken up the habit of using a large table as a way to lay out content in web pages. Using tables has several disadvantages in content layout:
- Table cells cannot be moved around at will like <div></div> tags.
- Tables have much more overhead in terms of HTML markup and are not as flexible.
Div tags allow you greater flexibility - you can use CSS to change the position of content in div tags by simply changing your style sheet. We can even use div tags to emulate a table if we wanted - our options are almost unlimited. If you would like to see a wonderful set of web pages that use CSS and div tags to rearrange and redesign the same content, check out the CSS Zen Garden. Click on some of the other designs on the right side of the default page to see how other designers have displayed the exact same layout. This lab's page is also all arranged with div tags
However, using div tags to lay out content for web pages has one drawback: not all web browsers display div tags the same way, whereas there is practically seamless support for viewing tables across browsers. So, until all web browsers interpret div tag css the same, there will be a general acceptance for using tables for layout purposes.
So, how do we lay out content using tables? Basically, your entire body will be one large table, with table cells that have a specific height, width, and background color containing content. Let's look at a skeleton html and CSS page to see how this is done. In this particular example, we use a table with three rows and three columns - this copies a very traditional way of laying out your content. Do you see anything that doesn't look right with this skeleton? How can you fix it?
4. Final Tasks
Almost done!
First, comment on the "Modeling the World" lecture notes in a new blog post (on your blog).
Your next task is to change the appearance of the sidebar in your blog:
- Log into Blogger and go to your dashboard
- Go to your Template Tab
- Go into the CSS of your Blog and look for the code that controls your sidebar, it should look something like this (NOTE: one quick way to find this in most templates is to do a text search for '#sidebar'):
- Use what you've learned about CSS to change the appearance of your sidebar. You can change the color, the background, the font, and many other things. Make at least 3 distinct changes in your template.NOTE: Don't forget to comment what you change, this way you can always go back if you don't like your changes!
- Put a list of permanent links in your sidebar. One to Infoport, another to the class web page, and at least to one of your classmates blogs.
- Copy your changes along with the commented tags to a text file named
changedtemplate.txt. In the first line of this file, describe (using comments) where in the template have you made changes (i.e. list the tags you altered) - Upload this text file to your Lab 4 Assignment box on Oncourse
#sidebar {
margin: 0 41px 0 547px;
padding: 20px 0 0 0;
font-size: 85%;
line-height: 1.4em;

            color: #999;
background: url(http://www.blogblog.com/tictac/sidebar_bg.gif) no-repeat 0 0;
}
Your final task is the following:
- Create a new web page called
home.htmlthat you will upload to the Lab 4 Assignment box on Oncourse. - Create a new external css page called
home.cssthat you will upload to the same Lab 4 Assignment box on Oncourse.- This document must contain at least 10 style rules
- In your
home.htmlplace content that tells us a little bit about yourself. Your content must include the following:- You must use a table to lay out your content.
- You must link to at least 3 outside pages as well as link to your blog.
- You must include at least 2 images
- You must use at least one hr tag.
- You must include at least one table that uses thead and th tags.
If you would like more practice or help with CSS, you can check out the following links:
- The W3Schools.com CSS tutorial
- Matt's
CSS Resource page
This resource page has links to examples, online tutorials, books, and a classroom powerpoint on CSS.
Once you are completely done with your final task you are done with this lab!

